Inclusive Language in Microsoft Office
Overview
Microsoft has added inclusive language proofing features to the web-based Office 365 applications and some of the desktop Office applications. These proofing features are not enabled by default, so to take advantage of them you must first turn them on – this resource will show you how to do that.
What is inclusive language?
UNC’s Policy on Gender-Inclusive Language states: “The University of North Carolina at Chapel Hill is committed to providing an inclusive and welcoming environment for all members of our community. Consistent with that commitment, gender-inclusive terms (chair; first-year student; upper-level student, etc.) should be used on University documents, websites and policies.”
A guidance handout (“Gender-Inclusive Language“) may be found on the UNC Writing Center website.
How to enable inclusive language check in MS Office
To include inclusive language proofing in the grammar check you’ve come accustomed to in Microsoft products, please see the detailed guides below.
Office 365 Web Applications
- Navigate to http://outlook.office.com/ and log in as you normally would.
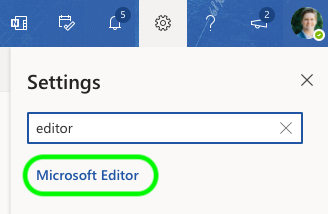
- Click the “Settings” cog at the top right of the screen, in the search bar type “editor” & click on “Microsoft Editor”
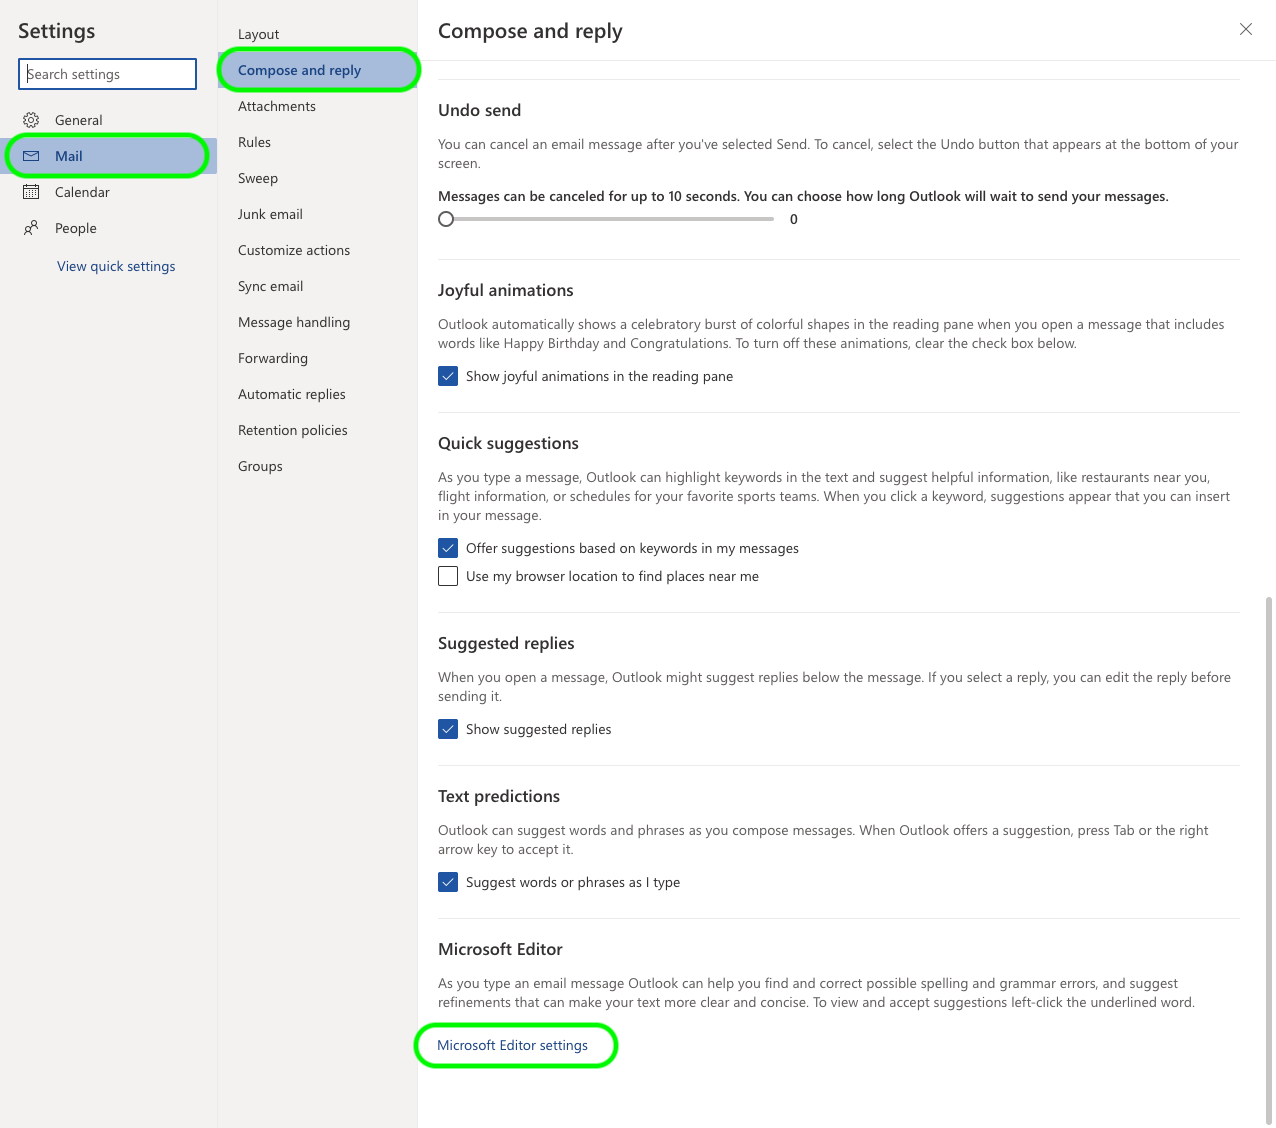
- From the “Mail” menu under “Compose and reply” click on “Microsoft Editor settings” at the bottom
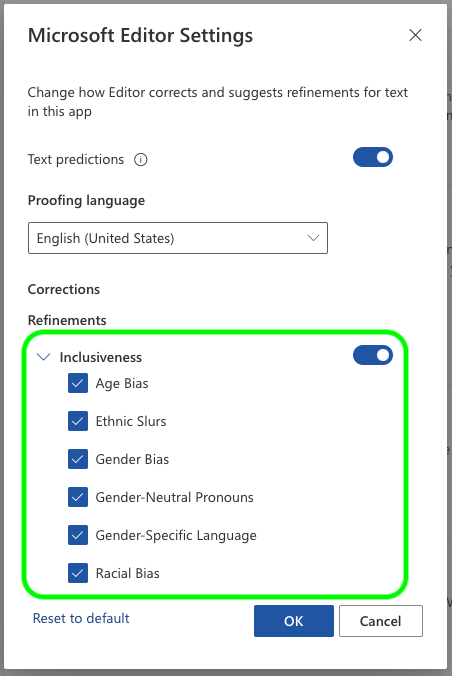
- Under “Refinements” the “Inclusiveness” refinement is turned on by default, but none of the options are. Expand “Inclusiveness” and enable the sub-options
Saving these changes will change your Microsoft Editor settings across all applicable Office 365 applications.
PC: Outlook
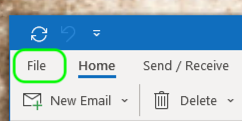
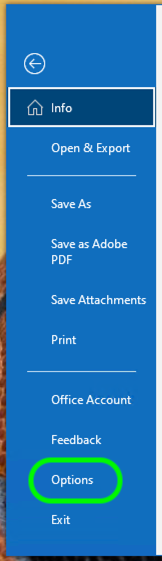
- Click “File” at the top left of the Outlook screen
- Click “Options” at the bottom left of the “File” menu
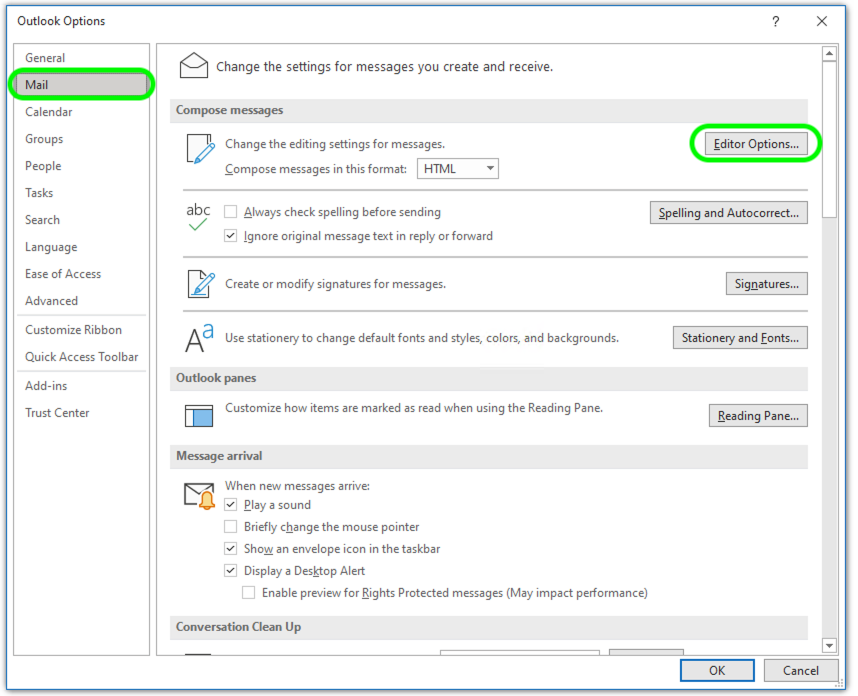
- From the Options menu, select “Mail” > “Editor Options…”
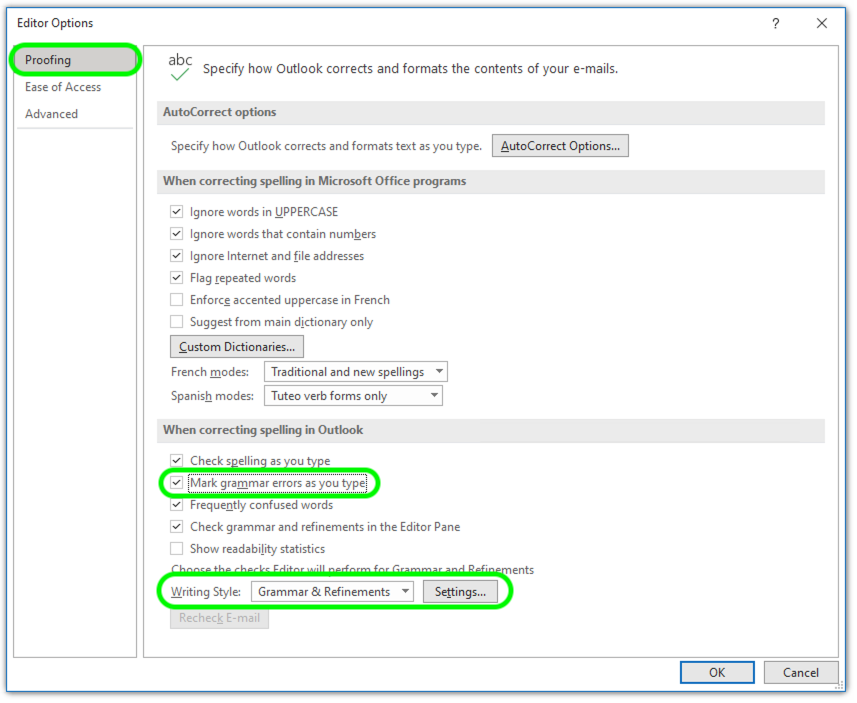
- From the “Proofing” menu, ensure “Mark grammar errors as you type” is enabled, and then open the “Grammar & Refinements” settings
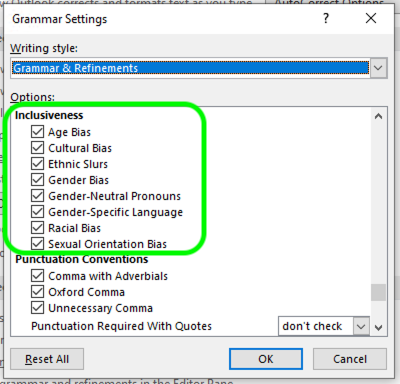
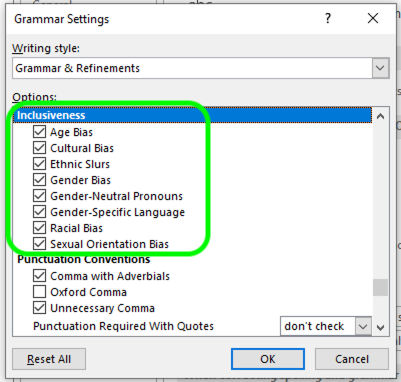
- Scroll down to the “Inclusiveness” section and enable the options
PC: Word
- Click “File” at the top left of the Word screen
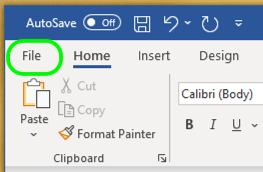
- Click “Options” at the bottom of the “File” menu

- Select “Proofing” on the left, ensure “Mark grammar errors as you type” is enabled, and then open the “Grammar & Refinements” settings

- Scroll down to the “Inclusiveness” section and enable the options
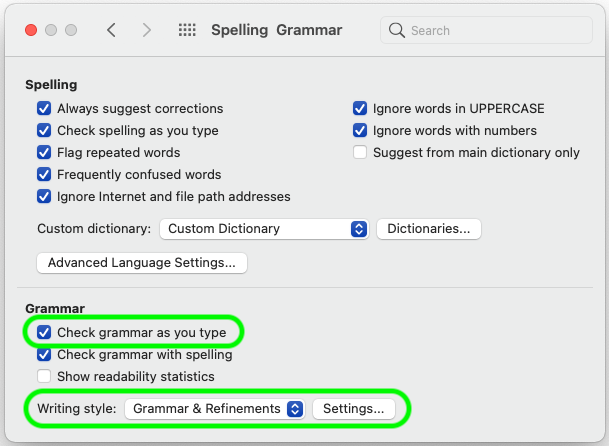
Mac: Word
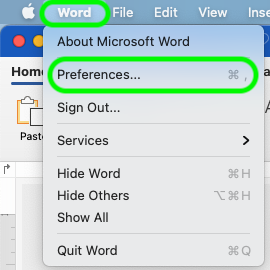
- Click “Word” from the Mac menu bar
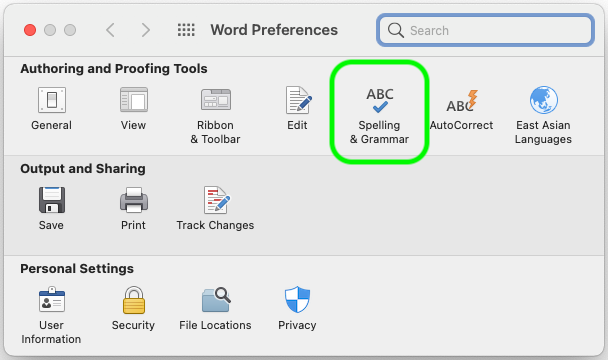
- Click on “Spelling & Grammar”
- Under “Grammar” ensure “Check grammar as you type” is enabled, and then open the “Grammar & Refinements” settings
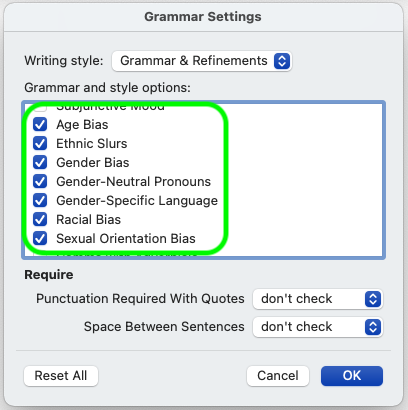
- Scroll through the “Grammar and style options” list until you find the inclusive language settings (they are grouped together, but there is heading)
Note: This feature is not yet available on the Mac Outlook client.